Clay Tile Roofing Installation Services Overview
Visitors will learn about local contractors who specialize in clay tile roofing installation services and how they can help with their roofing projects.
- - Residential homeowners seeking durable, stylish clay tile roofing installations for their houses.
- - Commercial property managers looking to upgrade or replace existing clay tile roofs on business buildings.
- - Contractors or property owners planning new construction projects that incorporate clay tile roofing systems.
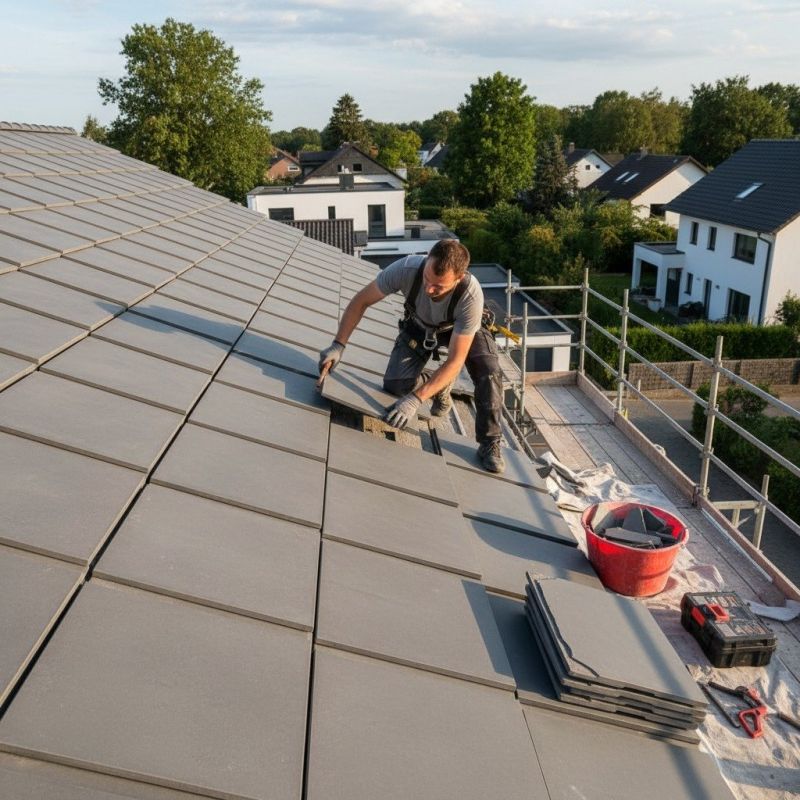

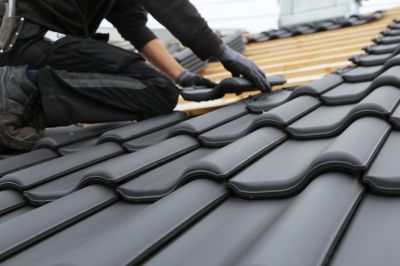
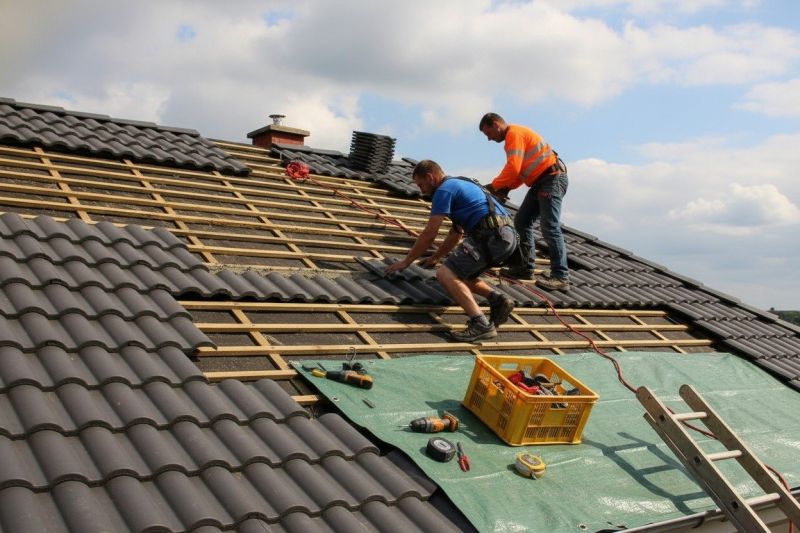
Clay tile roofing installation is a specialized service that involves placing durable, aesthetically appealing tiles on a roof to provide long-lasting protection and classic style. Property owners often seek out experienced local contractors who understand the unique requirements of clay tile systems, including proper underlayment, tile layout, and secure fastening techniques. These professionals typically handle everything from initial assessment to the final placement, ensuring the roof is correctly installed to withstand weather elements and maintain its visual appeal over time.
Local service providers offering clay tile roofing installation are familiar with the specific needs of different properties and can adapt their approach accordingly. They often work with a variety of clay tile styles, colors, and profiles to match the desired look and functional requirements of each project. When seeking installation services, property owners can expect to connect with experienced contractors who prioritize quality workmanship and attention to detail, helping ensure a durable, attractive roof that complements the property’s overall style.
Clay Tile Roofing Installation Services
Compare local contractors to find experienced providers who can handle your clay tile roof installation with confidence.
Expert Installation Options
This guide provides helpful information to compare and connect with local contractors experienced in Clay Tile Roofing installation. It offers insights to understand the scope of the work and what to consider when planning a roofing project. By using this resource, visitors can better prepare to discuss their needs with qualified service providers in their area.